
Automated Passthrough Account Creation
The Automated Passthrough Account Creation function allows the user to identify two existing Accounts on different Simulation Objects and create linked Passthrough Accounts on all intervening Objects in a single operation. This is a convenient alternative to showing the Object Viewer (or Open Object) dialog box for each of the intervening Objects to create a Passthrough Account. All newly created Accounts and Supplies are assigned properties selected by the user:
• Account Name
• Account Water Type
• Account Water Owner
• Supply Release Type
• Supply Destination (Type)
There are several ways to create linked Passthrough accounts:
• Right-click the downstream account and choose Add Supply, then Inflow/Outflow. Move the cursor up to the upstream account and right-click again. The Create Linked PassThrough Accounts dialog appears to complete the process. The Upstream and Downstream accounts are automatically filled in.
• Open the object and go to the Accounts tab. Right-click in the accounts area (or select Create Linked PassThrough Accounts from the Accounts menu) and choose Create Linked PassThrough Accounts. A dialog appears to complete the process. On an aggregate object, you must first select an element.
• Open the object and go to the Accounts tab. Select Create Linked PassThrough Accounts from the Accounts menu. A dialog appears to complete the process.
• From the Accounts Manager, select Account, then Create, then Passthrough Accounts to open the Create Linked PassThrough Accounts dialog.
Quick Usage Overview
1. Open the Create PassThrough Accounts dialog box from one of the methods specified above or:
2. Select the correct Upstream Account.
– Select an Object Type (or All Object Types)
– Select an Object of that Type
– Select an Account on that Object
3. Select the desired Downstream Account.
– Select an Object Type (or All Object Types)
– Select an Object of that Type
– Select an Account on that Object
4. Enter the desired Account Name for newly created Accounts.
5. Enter the desired Water Type for newly created Accounts.
6. Select the desired Water Owner for newly created Accounts.
7. Select the desired Release Type for newly created Supplies.
8. Select the desired Destination (Type) for newly created Supplies.
9. Select either the OK or Apply button.
Detailed Usage Information
The following sections show detailed information on using the dialog.
Invoking the Dialog
This dialog box can be shown using either of these two menu operations:
• From the Water Accounts Manager dialog box:
Select Account, then Create, then PassThrough Accounts.
• From an object dialog:
Select Account, then Create, then PassThrough Accounts.
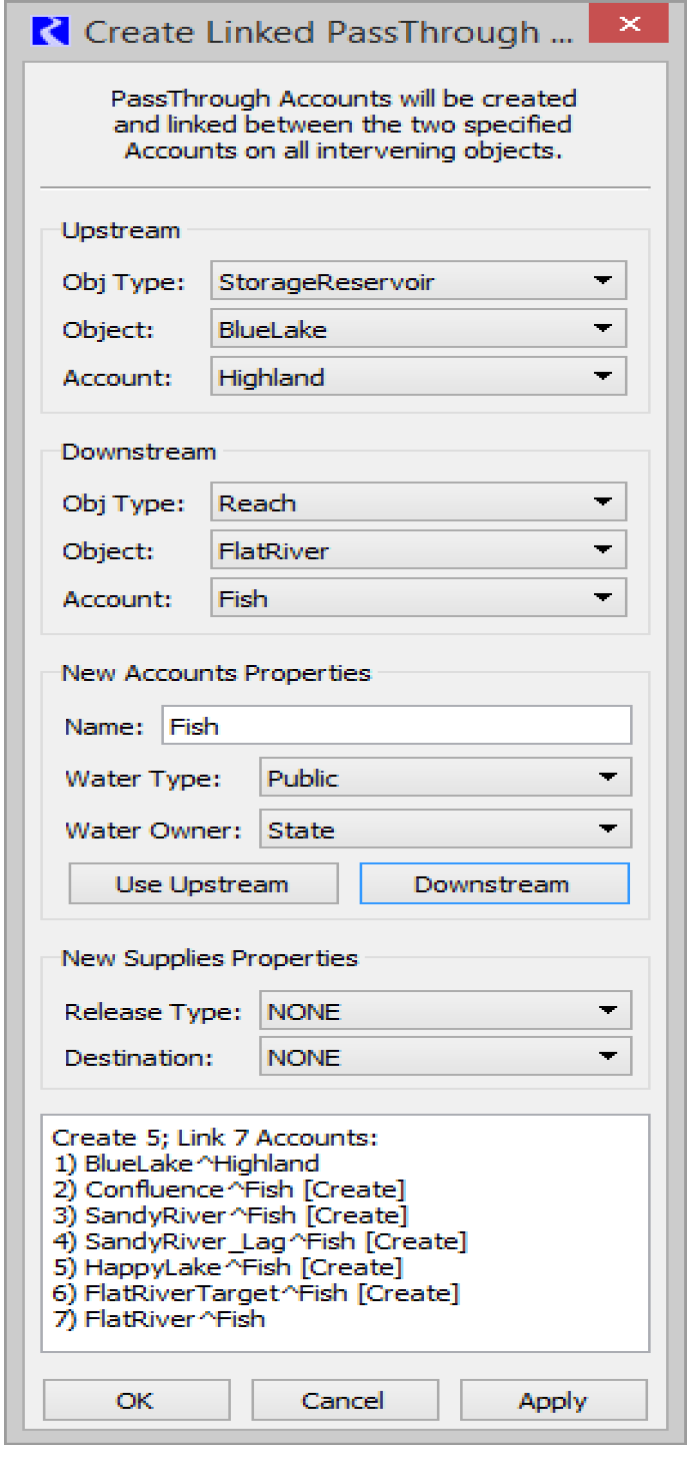
Overview of the Dialog
The Create PassThrough Accounts dialog box includes the following user controls.
• Two Account Selector Boxes:
– An Upstream Account (Selections: Object Type, Object, Account)
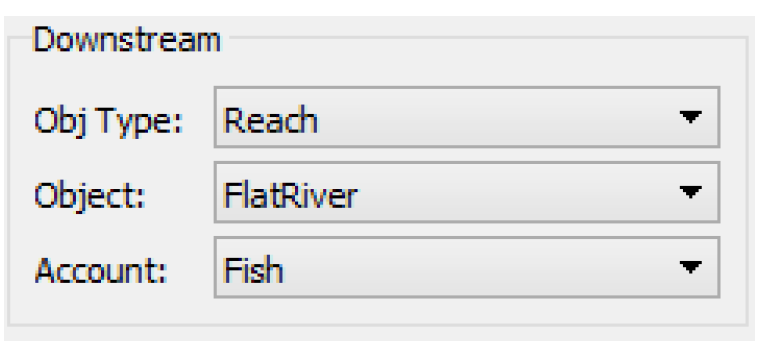
– A Downstream Account (Selections: Object Type, Object, Account)
• New Account Properties controls for specifying properties given to the Accounts created with by operation.
– An Account Name (Text Entry Field)
– A Water Type (Option Menu selection)
– A Water Owner (Option Menu selection)
• Optional button for assigning the Account Properties (Name, Water Type and Water Owner) of the currently selected Upstream or Downstream Account to the New Account property controls described in the previous item.
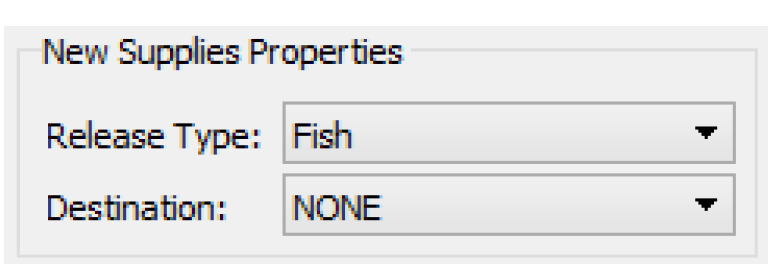
• New Supplies Properties controls for specifying properties given to the Supplies created by this operation.
• A multi-line text field for display of the following:
– Reason the entered and selected values do not specify a valid creation operation, or
– List of the Accounts which will be created and linked (via new Supplies) if the user presses the OK or Apply buttons.
• Buttons: OK, Apply, and Close.
Account Selector Boxes
The Create PassThrough Account dialog box has two Account Selection boxes used to indicate an Upstream Account and a Downstream Account. Each has the following option menus:
• Obj (Object) Type option menu. The user selects either All Object Types or one of the Object Types for Objects which can have Accounts and which are represented in the model.
• Object option menu. The user selects one of the Simulation Objects in the model of Object Type indicated in the Obj Type option menu.
• Account option menu. The user selects one of the Accounts in the Simulation Object indicated in the Object option menu.
New PassThrough Account Property Specification
All the PassThrough Accounts created by a Create PassThrough Accounts operation are given the same Name, Water Type and Water Owner. All Accounts can have the same name because only one such Account will be created on any particular Object.
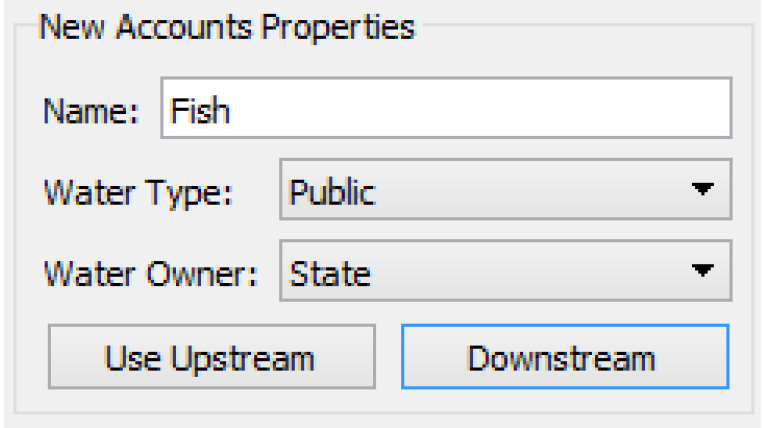
These properties can be those of the selected Upstream Account, or those of the selected Downstream Account, or any arbitrary valid name and property selection.
The name appearing in the text entry field, which can be freely edited by the user, is the name to be used for all new created Accounts. Selecting the Use Upstream or Downstream buttons assigns the Name, Water Type, and Water Owner of the currently selected Upstream or Downstream Account to those three entry / selection widgets. The user can then make modifications to any of those values.
Valid values for Water Type and Water Owner are defined by the user in the Accounting System Configuration.
New Supply Property Specification
Newly creates Supplies (links between Accounts) will be given the default name (based on the names of the two linked Accounts) and the following properties.
• Release Type
• Destination (Type)
Valid values for these two properties are defined by the user in the Accounting System Configuration.
Enabledness of the OK and Apply Buttons
The OK and Apply buttons are enabled only if all of the following conditions are met.
• The selected Upstream Account can accept a Demand to a downstream PassThrough Account (or to the Downstream Account, if that is on an adjacent, physically linked Object).
• The selected Downstream Account can accept a Supply from an upstream PassThrough Account (or from the Upstream Account, if that is on an adjacent, physically linked Object).
• A path of physical links exists between the Upstream Object and the Downstream Object which are needed for the creation of Supplies connecting the indicated Accounts via new PassThrough Accounts. To determine this state, the mechanism searches for a downstream linked path from the Upstream Object to the Downstream Object.
• The intervening Objects do not yet contain an Account with the name to be used for the new PassThrough Accounts.
• The intervening Objects are of Object Types on which PassThrough Accounts can be created.
Note: This restriction does not apply to the Upstream or Downstream Objects. That is, the selected Accounts don’t have to be PassThrough Accounts.
Selection Status Area
In addition to the enabled state of the OK and Apply buttons, a brief message about the validity of the Create PassThrough Account operation, given the current input selections, is displayed in the Selection Status Area.
Status Area text messages include:
• “No Upstream Account specified.”
• “No Downstream Account specified.”
• “Upstream and Downstream Accounts must be distinct.”
• “Upstream and Downstream Objects must be distinct.”
• “Account ‘<account name>’ already exists”
• “No physical path exists from Upstream Object to Downstream Object.”
If the selections specify a valid Create PassThrough Accounts operation, then the Accounts that would be created and linked (with Supplies) are indicated (see Figure 3.16).
Reporting Account and Supply Creation Results
During the course of the Create PassThrough Accounts operation (as a result of pressing the OK or Apply buttons), any detected problems will be reported as an Error in the Diagnostics Output window.
Note: This does not apply to the error conditions detected before the OK or Apply button is pushed; those conditions actually prevent those button from being pushed.
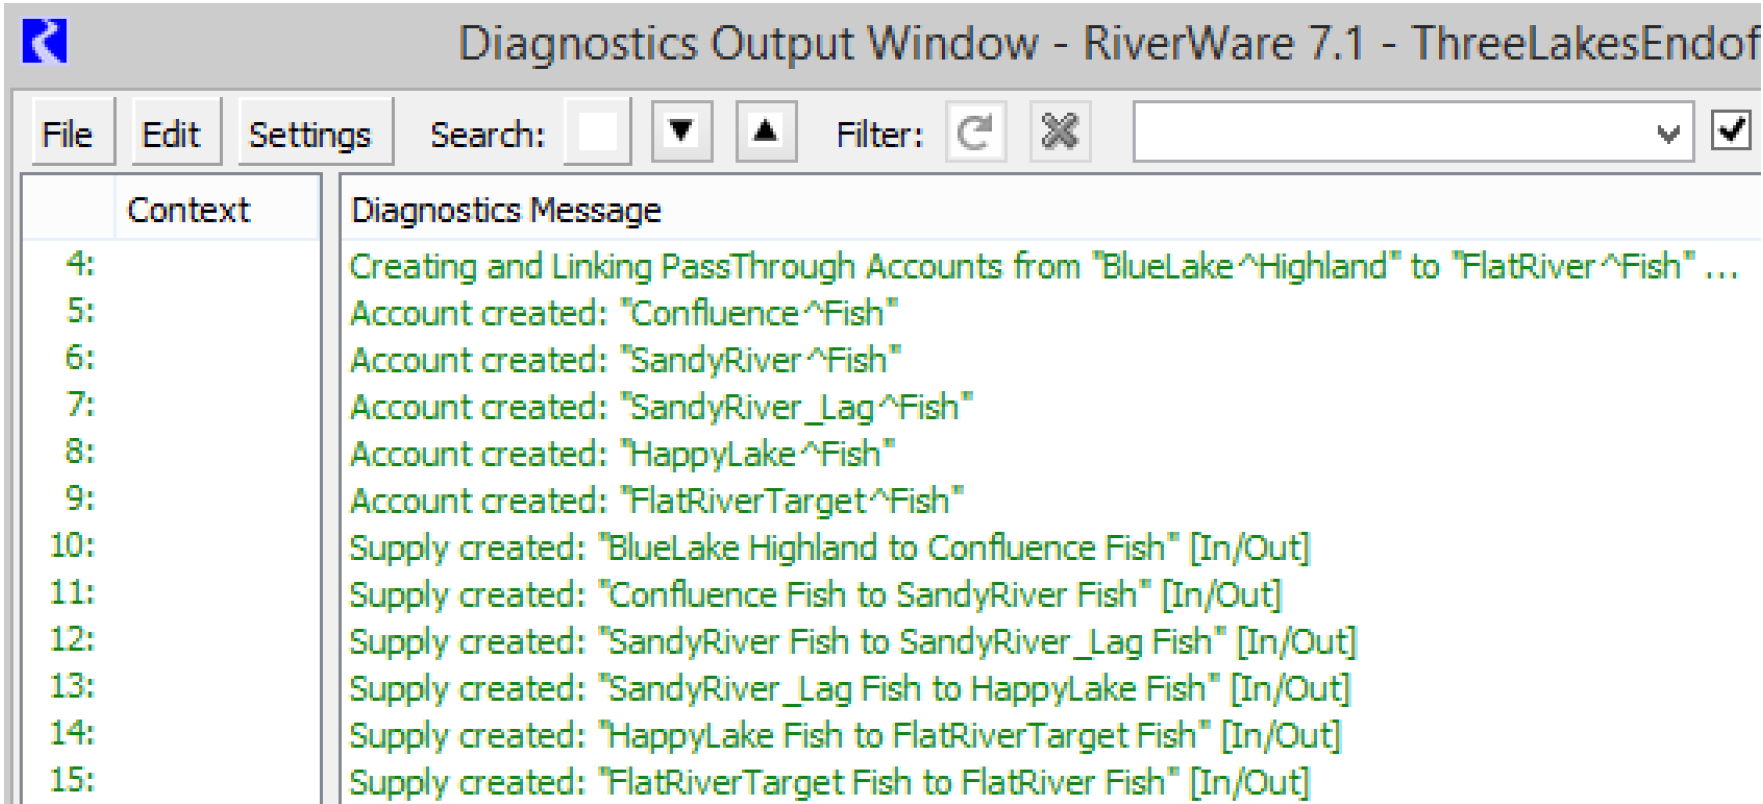
The following actions are reported as Informational messages in the Diagnostic Output window, shown in Figure 3.16.
• Creating and Linking PassThrough Accounts from “<upstream account>” to “<downstream account>”
• Account created: “<account name>”
• Supply created: “<supply name>” [<supply type>]
Figure 3.16
Revised: 08/04/2020